Skype for Business has everything a large business could possibly require – from the ability to have communication sessions with up to 250 people at a time and enterprise-grade security and encryption to the ability to create and manage employee accounts. Skype for Business also seamlessly integrates itself with all other Office apps. This Skype variant for businesses and corporations does cost $2 per month, per user, but it’s more than worth it. Getting Skype for Business is pretty easy – it’s removing Skype for Business from a computer that most users find quite complex and sophisticated. In addition, there are an array of different ways to acquire Skype for Business – you can get it as a standalone application or as a part of a version of Microsoft Office, which is why not every process designed to remove Skype for Business from a computer applies in every case. The following are the absolute most effective methods that can be used to remove Skype for Business from a computer:
Method 1: Uninstall Skype for Business from the Control Panel
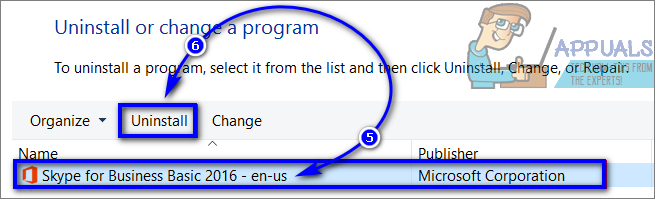
The simplest way to uninstall Skype for Business would obviously be to uninstall it from the Control Panel like you would any other program installed on your computer. There’s a catch, however – this method can only be used to uninstall Skype for Business if you have a standalone version of the program. If the Skype for Business you have is a part of Microsoft Office or is the Office 365 Skype for Business, Skype for Business won’t even show up as a program you can uninstall in the Control Panel as it is integrated into all of your other Office applications. If you do have a standalone version of Skype for Business, however, you can uninstall it if you simply:
Method 2: Remove Skype for Business from your installation of Office
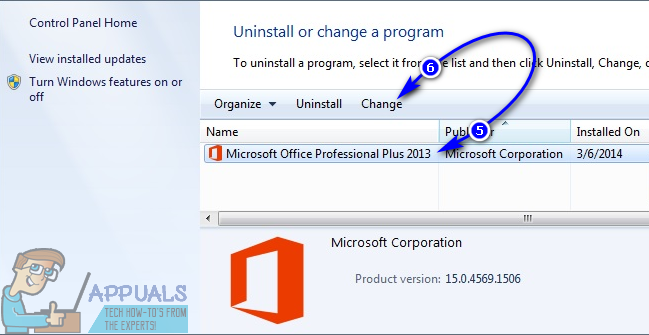
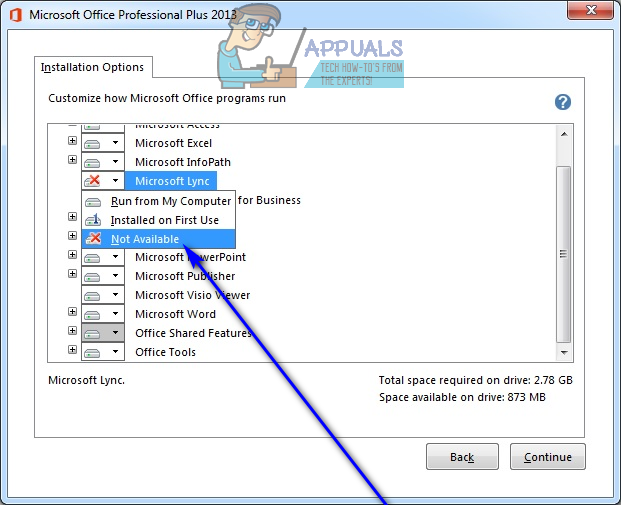
If you acquired Skype for Business as part of a Microsoft Office suite of applications (Microsoft Office Professional Plus 2013, for example), you can remove Skype for Business from your computer if you simply remove the application from the Office installation. However, there’s a catch here as well – this method will only work if you have an MSI-based installation of Office, not a Click-to-Run version. MSI-based Office installations are those what were actually installed on computers using a Microsoft Installer for the respective version of Office. If you do have an MSI-based Office installation, you can remove Skype for Business from it – all you need to do is:
Method 3: Exclude Skype for Business from your Office 2016 installation
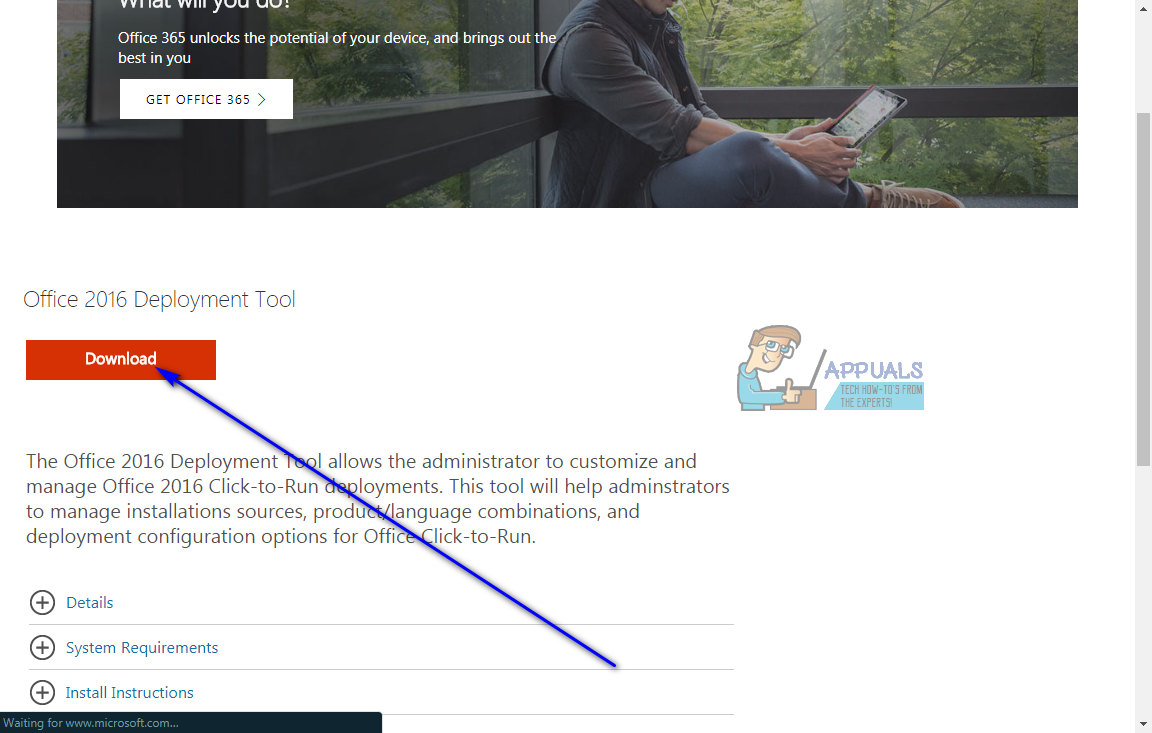
If you have a Click-to-Run version of Microsoft Office 2016 and Skype for Business is a part of it, you can simply exclude Skype for Business from Microsoft Office using the Office 2016 Deployment Tool. Understandably, this option is only viable for users with Click-to-Run versions of Microsoft Office 2016. If you would like to use this option to get rid of Skype for Business, you need to:
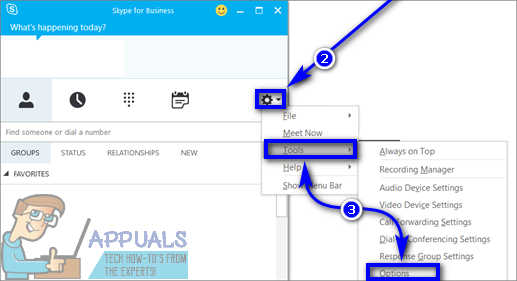
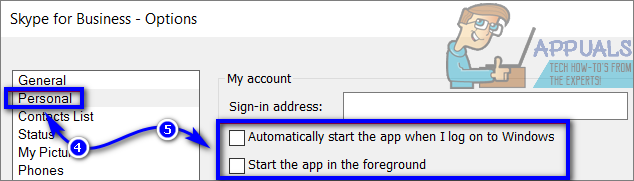
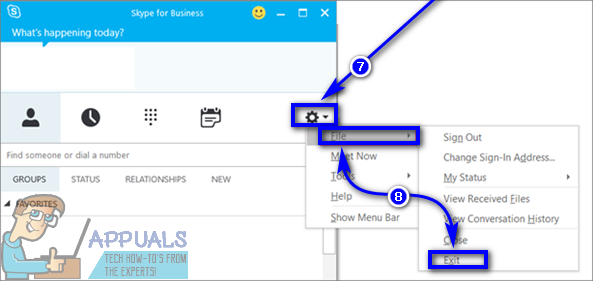
Method 4: Stop Skype for Business from starting automatically
Most users want to uninstall Skype for Business because they see it as a nuisance and it simply bothers them when they see it because they don’t need it. Well, you don’t necessarily have to uninstall Skype for Business for that, you just need to make sure you don’t see it. You can stop Skype for Business from starting automatically if you can’t, for whatever reason, uninstall it – doing so will not remove the application from your computer but you will no longer see it. To stop Skype for Business from starting automatically, simply:
Method 5: Uninstall Microsoft Office
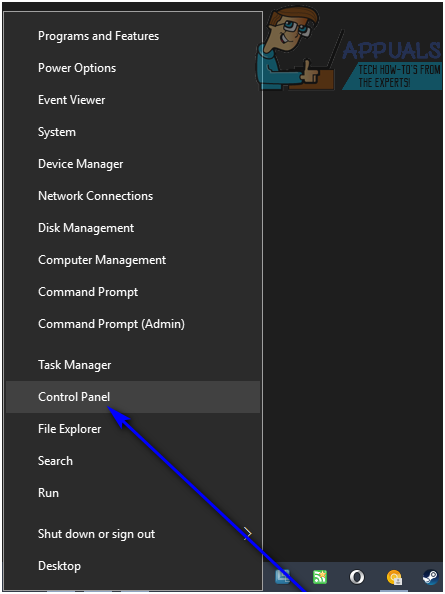
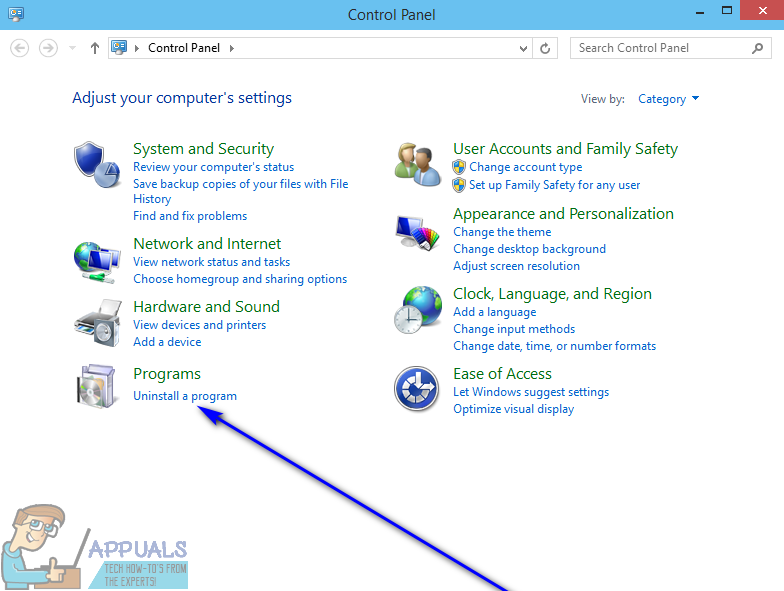
If you are dead set on uninstalling Skype for Business from your computer, the Skype for Business you have on your computer is a part of your installation of Microsoft Office and is not a standalone version, your installation of Office is a Click-to-Run installation and not an MSI-based installation and Method 3 didn’t work or doesn’t apply to you either, there is only one way you can remove Skype for Business on your computer – uninstall Microsoft Office. If all of the previously described conditions are present, your installation of Skype for Business is tethered to your installation of Microsoft Office – the former cannot be removed unless you uninstall the latter. If you can make peace with uninstalling Microsoft Office to get rid of Skype for Business, simply open the Control Panel, click on Uninstall a program under Programs (with the Control Panel in Category view), locate and click on the listing for Microsoft Office, click on Uninstall and follow the onscreen instructions and prompts to go through the uninstallation wizard and uninstall Microsoft Office. Once Microsoft Office has been successfully uninstalled, Skype for Business won’t exist on your computer either.
Skype for Business is being Discontinued: How to Migrate to Microsoft TeamsHow to Appoint a Presenter for a Skype for Business Conference?How to Get Skype For Business Web App Plugin to Install on SafariSkype for Business Displays incorrect Names for Contacts