Thankfully there are methods available for preparing screen protectors perfectly. In fact, one of the best methods for applying a screen protector applies nothing but a bit of tape, your smartphone and the screen protector itself. The method we have provided below is perhaps the quickest option available, but it often requires you to have a roll of tape that’s not too durable. The thinner and weaker the tape the better. Here’s what you’ll need.
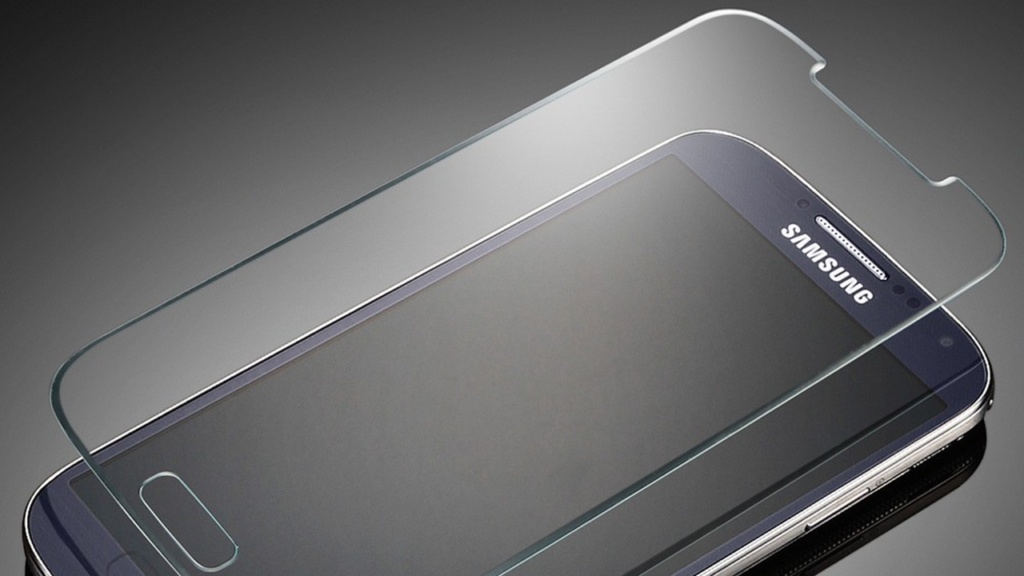
A plastic screen protector
Roll of tape, preferably thin blue tape
Once you have the tools you need for method 1, you can start the process. First, take your smartphone and place it down on a flat surface that’s not going to wobble during the process. Next, take your screen protector and place it on your smartphone screen with the sticky backing side facing towards the screen. DO NOT remove the sticky backing. Make sure to line up the screen protector as best you can.
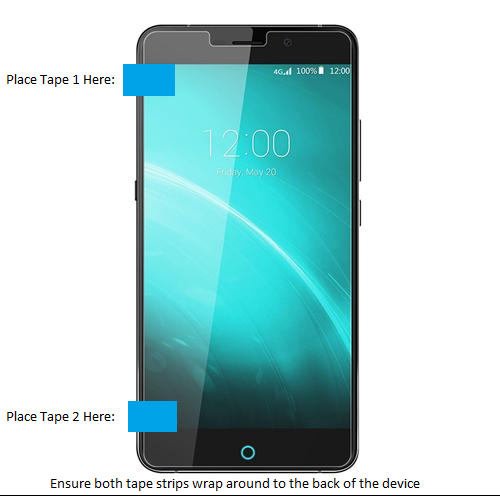
Once you have lined up the screen protector on your screen, you will need to prepare the tape. You’ll need two thin strips of tape that are roughly one inch long. Take each strip of tape and apply it to both the top left side of the screen and the bottom left side of the screen. The goal here is to apply the tape to the edges of the screen protector and then wrap the tape around to the back of the smartphone. By applying the tape like this, you’re essentially creating ‘door hinges’ for your screen protector. For the next step, you will need to carefully use your left hand to lift up the screen protector from the right side, (the side without the tape) as if you were opening a door.
Make sure not to misalign the screen protector at this point. If everything is still aligned, once the screen protector is sitting perpendicular to your screen, slowly remove the sticky backing with your right hand whilst keeping it still with your left hand. Next, repeat the lift up motion from before, but in reverse, as if you were closing a door. The screen protector will now be attached to your screen. After attaching the screen protector you will need to carefully remove the makeshift tape door hinges. You can now use a flat, thin object like a credit card to push out any trapped air. Start from the middle of your screen, with the credit card sitting across the screen’s width. Apply pressure and move the credit card to the top of your screen. Start from the middle again and this time move to the bottom of the screen with the credit card. You should now find that your screen protector is sitting straight on your screen without any air bubbles.
Screen Protector Blocking Front Facing CameraTim Cook Advises on Switching to an iPhone to Avoid “Green Bubbles"How to Put Your Saved Games to Steam CloudHow to Put Your iPhone 4, 5, 6 and 7 into DFU Mode