Even with the fact that this problem is hard to diagnose, there are a couple of common culprits that you should prioritize when you’re troubleshooting for this particular issue: Now that we went over every potential cause that might be responsible for this problem on both Windows 10 and Windows 11, let’s go over several fixes that other affected users have successfully used to fix the Reference_By_Pointer error:
1. Perform a CHKDSK scan from the Recovery menu
Before you move on to more comprehensive repair strategies, you should start this troubleshooting guide by making sure that you’re not encountering the Reference_By_Pointer BSOD due to a failing drive. Fortunately for you, if the damage is superficial and the drive is only beginning to fail, you might avoid the need to purchase a new drive by deploying a CHKDSK scan and seeing if the Check Disk Utility is able to identify any failing sectors and replace them with unused equivalents. But since you might not be able to boot reliably (or at all) due to the Reference_By_Pointer BSOD, we recommend triggering a CHKDSK scan via the Advanced Recovery menu on Windows 11 and Windows 10: Note: The screens you’ll see will vary a little if you’re on Windows 10, but the steps are generally the same for both operating systems. If you’re still dealing with the same Reference_By_Pointer BSOD even after running this utility, move down to the next potential fix below.
2. Clear Temp and PreFetch folder (if applicable)
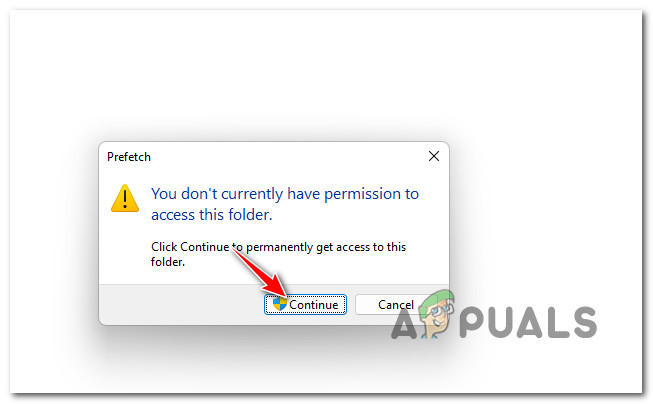
If you’re experiencing this issue sporadically and you are able to boot normally, you should turn your attention towards the two directories that are used by Windows to store temporary files – TEMP and Prefetch. Deleting the contents of these directories (not the directories themselves) is completely safe and won’t cause an underlying issue with your system. All you’re essentially doing is forcing your system to let go of any temp files that are currently in use by the various Windows components active during every boot. However, you will likely not be allowed to delete these folders unless you boot in Safe Mode. Follow the instructions below to clear the Temp and preFetch folders from Windows 10 or Windows 11 and see if that fixes the Reference_By_Pointer BSOD: If you’re still experiencing critical reference_by_pointer crashes even after you cleared both of these folders (or you’re unable to boot), move down to the next potential fix below.
3. Deploy SFC and DISM Scans via Recovery Menu
If none of the methods above have proven to be effective in your case as you’re still experiencing the same Reference_by_Pointer BSOD constantly, you should start considering a type of system file corruption that’s causing this type of issue. If you haven’t tried this already, you should proceed by deploying SFC and DISM scans in order and see if this allows you to fix the critical system crash that is currently affecting your system. Note: Keep in mind that due to the fact that you might not be able to boot or you run the risk of the Reference_by_Pointer crash occurring while you’re in the middle of the scan, we recommend that you do this via the Advanced Recovery menu. Follow the instructions below for step-by-step instructions on how to do this: If you’re still dealing with the same type of Blue Screen of death (Reference by Pointer) even after deploying DISM and SFC scans, move down to the next potential fix below.
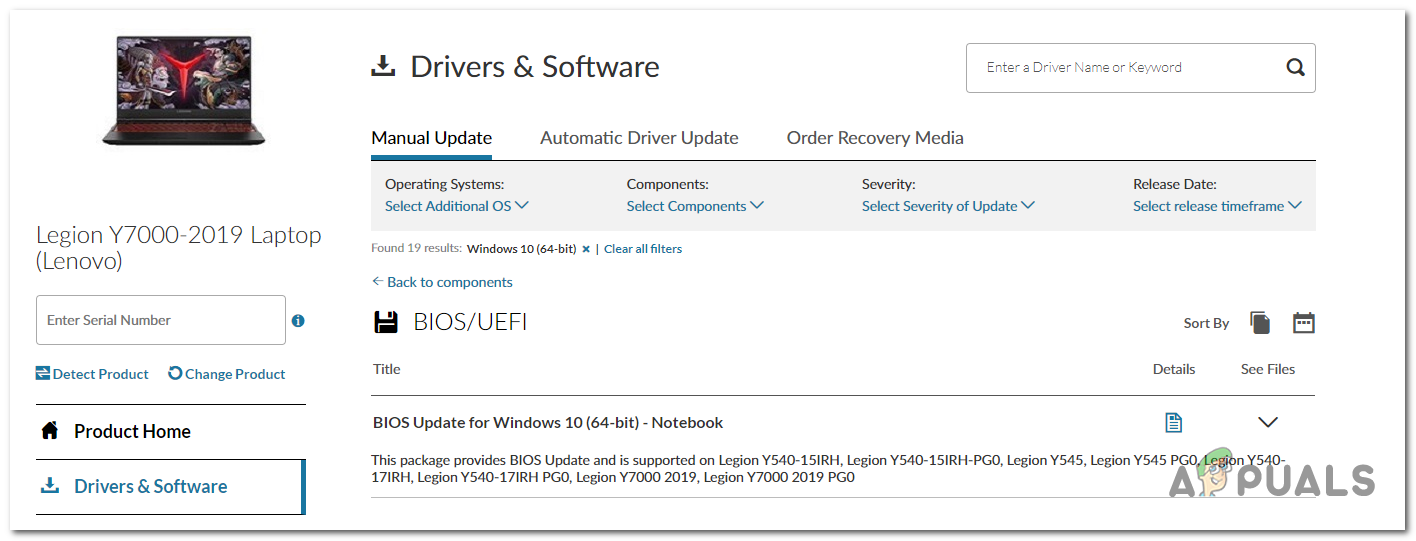
4. Update all motherboard drivers
As it turns out, you can also expect to deal with this issue in those situations where you’re using an outdated motherboard driver that is not designed to work with your operating system. Several affected users have confirmed that they managed to fix this problem by updating their motherboard drivers to the latest version available. Note: Most scenarios where you’ll see this particular problem is when the user recently upgraded to Windows 11 from Windows 10 and the old motherboard driver was simply migrated instead of being updated for the new operating system. Here’s what you need to do to update all motherboard drivers on your Windows computer: In case you’re still experiencing BSOD crashes with the same reference_by_pointer error after installing the latest motherboard driver (or you already had the latest version), move down to the next potential fix below.
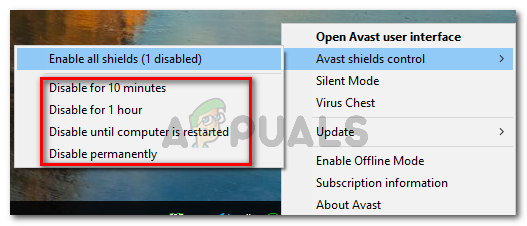
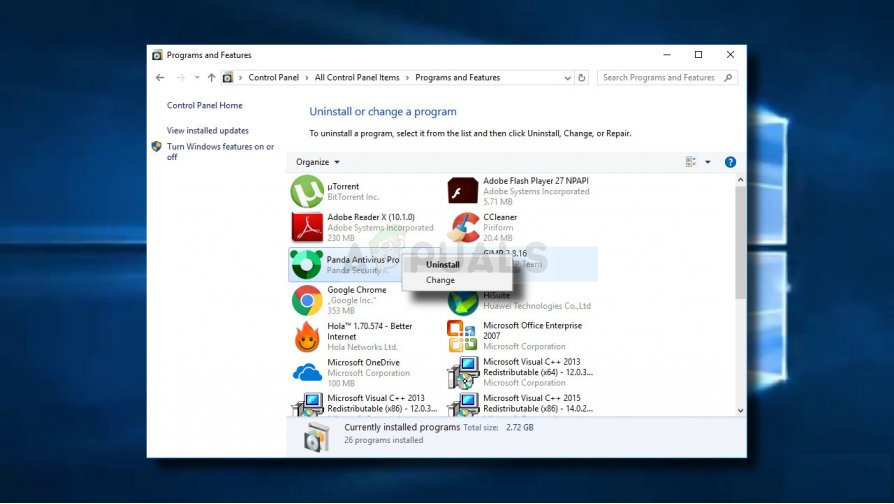
5. Disable or Uninstall 3rd party antivirus (if applicable)
If you’re using a 3rd party antivirus suite, you should not discard it from the basket of potential culprits that might be causing this type of BSOD on Windows 10 or Windows 11. According to some affected users, you might experience the Reference by Pointer BSOD crash because your antivirus ends up blocking a kernel process due to a false positive – most of the occurrences that we’ve managed to identify were related to Norton Antivirus. To test if your antivirus is actually causing this type of issue, you should start by disabling the real protection of your antivirus or firewall and utilize your PC normally to see if the crashes stop. Of course, the instructions for doing this will vary from AV to AV, but in most cases, you can do this directly by right-clicking the taskbar icon. If the BSOD crashes are no longer occurring while you disable the real-time protection of your antivirus (or you’re using a firewall), follow the instructions below to uninstall the interfering security suite and see if the crashes stop completely: If the reference by pointer BSOD returns even after you uninstalled your antivirus suite, move down to the next potential fix below.
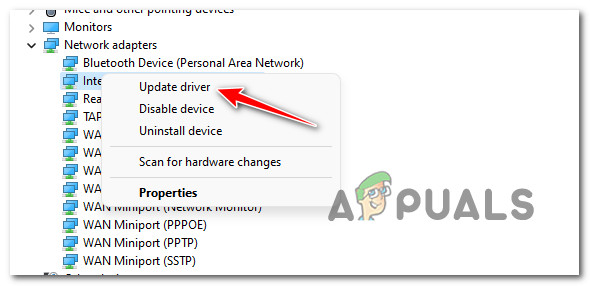
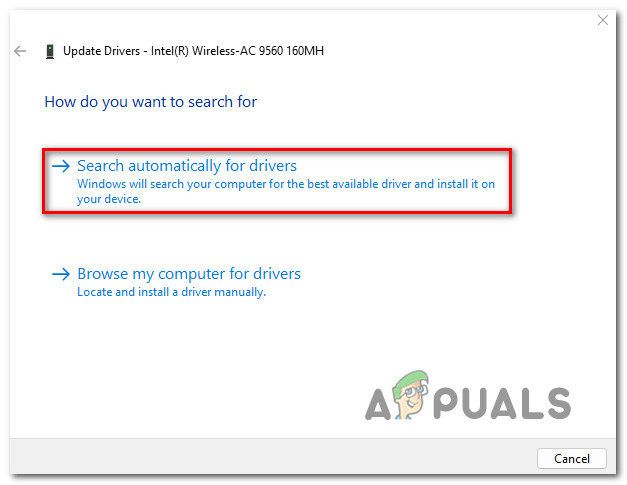
6. Update NIC Driver
This might not seem like a likely culprit, but the Network Interface Card (NIC) driver is often singled out for causing this problem (on both Windows 10 and Windows 11) by tech-savvy users that investigate the crash dumps. The majority of user reports that we looked into we’re Windows 11 upgrades coming over from Windows 11. So we assume that this issue is mostly caused by a Windows 10 driver that is being migrated to Windows 11 without being updated for the new operating system. Fortunately, if you’re dealing with the same kind of issue, you can probably fix the BSOD by using Device Manager to update the Network Interface Card driver. Follow the instructions below for a quick guide on doing this: In case the same BSOD is still occurring even after you updated the NIC driver, move down to the next potential fix below.
7. Perform a clean boot
Keep in mind that interfering Antivirus suites are not the only 3rd party programs that might ultimately be responsible for the apparition of the reference_by_pointer BSOD. Looking at some user reports, we’ve discovered system optimizing tools and even optical burning software as potential culprits that might contribute to this critical system crash. But since there are a lot of potential culprits that might be responsible for this problem, the best course of action would be to go for a clean boot procedure – this will force your Windows to boot up without any type of 3rd party interference (only required startup services and processes will be permitted to run). If the problem no longer occurs while you run your PC in a clean boot state, it’s clear that a 3rd party item is causing the critical system crash (reference-by-pointer BSOD). Here’s how to start your Windows PC in a clean boot state and figure out which culprit is responsible for this issue.
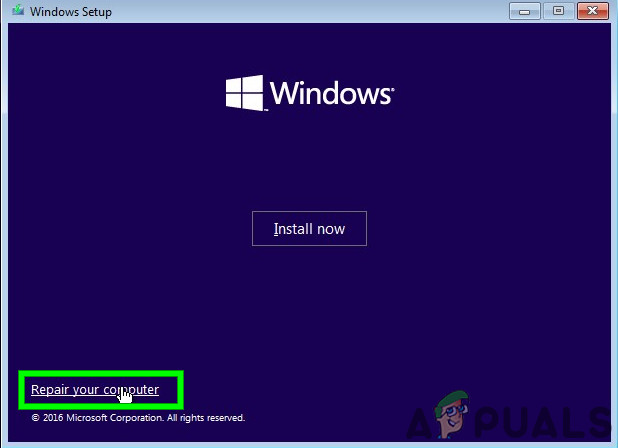
8. Clean install or Repair install your Windows installation
If none of the methods featured above have proven to be effective in your case, it’s almost clear that you’re dealing with some type of software or hardware issue that you won’t be able to fix conventionally. If it’s a hardware issue, you’ll have to take your PC to a qualified technician to inspect each component and figure out if any component is actually causing this critical crash. However, if you’re actually dealing with a software issue (corrupted Windows files) a clean install or repair install procedure should get the issue fixed. A clean install is the easier procedure out of the bunch, since enforcing it won’t require any prerequisites. But the major downside is that you will lose any personal data stored on the OS drive if you don’t make a backup in advance. On the other hand, if your operating system partition holds important system data that you simply can’t afford to lose, a repair install is the way to go in your case. In case this problem is only occurring inside your Virtual machine, we have put together two additional methods (check below) that will treat this particular BSOD in these scenarios.
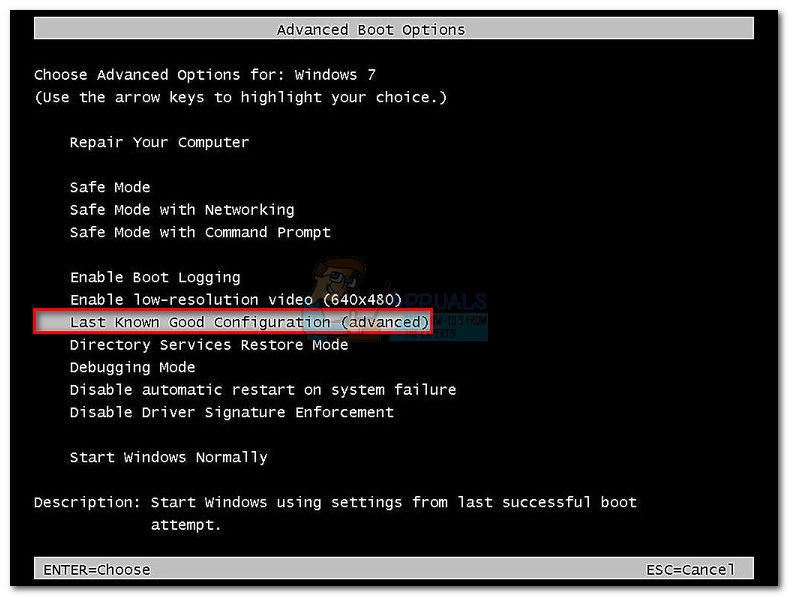
9. Boot with last good configuration (for VMs)
If you’re experiencing this Reference by Pointer Blue Screen of Death inside a virtual machine, chances are you recently adjusted the old configuration of your VM. Doing this might cause your Virtual machine to become unstable and crash with this particular BSOD at every attempted startup. Fortunately, other users that found themselves in a similar situation have confirmed that they were finally able to boot up their VM normally by forcing the Windows installation to boot with the ‘Last Known Good Configuration” Note: This method should appear automatically after several botched startup attempts. If forcing your virtual machine to boot up with the old configuration results in the same error, move down to the final potential fix below.
10. Reinstall all Hyper-V devices via Device Manager (for VMs)
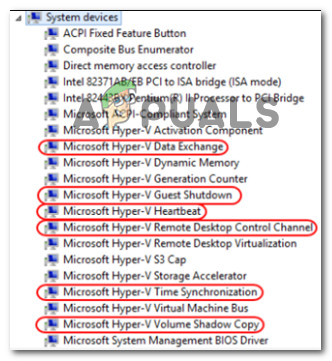
Although you might be tempted to think that the involved services are actually identical on a VM installation as on the host machine. But that’s not actually the case. In a VM machine, HyperV services are much more present and considered a key pillar for system stability. Other affected users that we’re also dealing with this problem (particular network administrators) have fixed the issue on affected virtual machines by uninstalling the following hyper V services and restarting the host machine so that they get reinstalled:
Microsoft Hyper-V Data ExchangeMicrosoft Hyper-V Guest ShutdownMicrosoft Hyper-V HeartbeatMicrosoft Hyper-V Remote Desktop Control ChannelMicrosoft Hyper-V Time SynchronizationMicrosoft Hyper-V Volume Shadow Copy
You can disable all the services mentioned above via the System devices tab of Device Management. Follow the instructions below for specific instructions on how to do this:
FIX: Error 0x80246002 and BSOD during Windows Update in Windows 10FIX: KERNEL_SECURITY_CHECK_FAILURE BSOD in Windows 10How to Fix igdkmd64.sys BSOD on Windows 10Fix: DRIVER_OVERRAN_STACK_BUFFER BSOD on Windows 10