One of the reasons you might find people preferring FTP is that it does not have a file size limit on the files that are to be transferred. Having an SFTP server in your work network has to be one of the most important things as it gives you secure file transfers to both client applications and the server. When it comes to setting up an FTP server however, things can get a little complicated due to the numerous options available on the internet. Even though there are many choices to choose from, SolarWinds stands on top as usual due to the high quality of their products like the NPM which lets you monitor your network performance along with many other things. The Serv-U FTP Server from SolarWinds is no different from the high standards of their products which is why we will be using it in this article to setup and configure an SFTP server.
Install Serv-u FTP Server
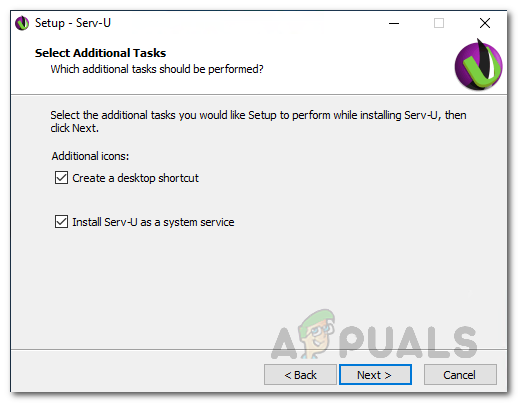
In order to be able to configure your own SFTP server, you will first need to install it naturally. To download the Serv-U FTP server, head over to this link. You can either choose to download the free trial by clicking the respective button or buy the product through the provided button which we would highly recommend. Whatever you decide on, you will get a zip file when the download finishes containing the installer. So, go ahead and unzip and then run the installer. The installation process is rather simple so just follow through the on-screen prompts to get through it. During the setup, make sure the Install Serv-U as a system service option is ticked. At the end, you will be asked to add Serv-U as an exception, make sure the check is ticked and then click Next. Once you have done that, you are done with the installation and have successfully got a SFTP server on your system.
Configuring Serv-U FTP Server
Now that we have gone through the installation, it is time to configure the Serv-U FTP server. The process is pretty and user-friendly thanks to the Serv-U Management Console. Follow through to configure the server.
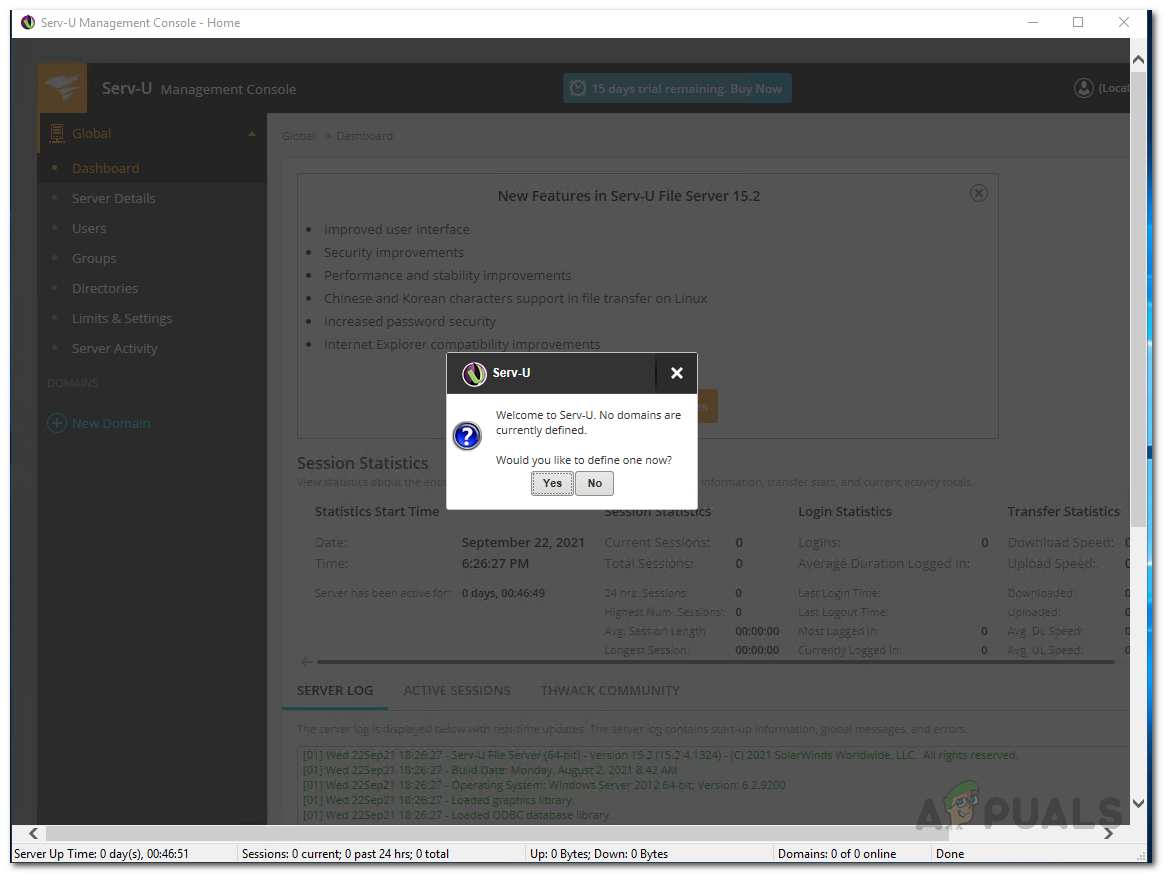
Creating a Domain
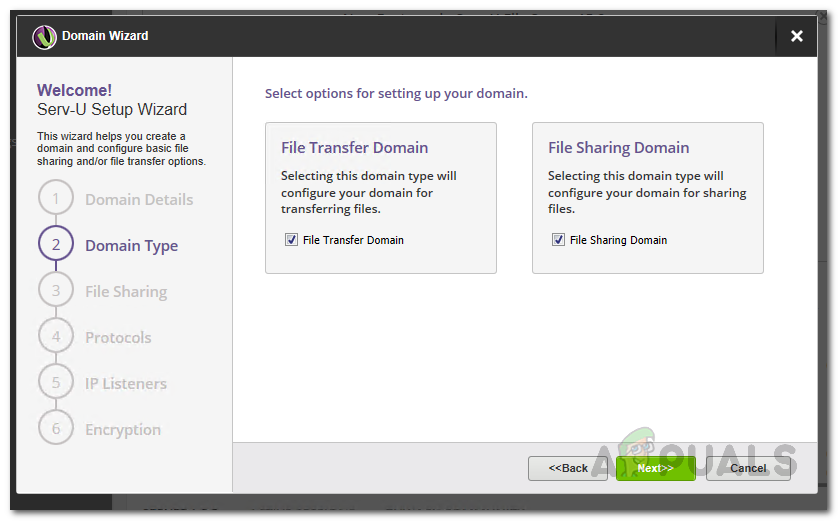
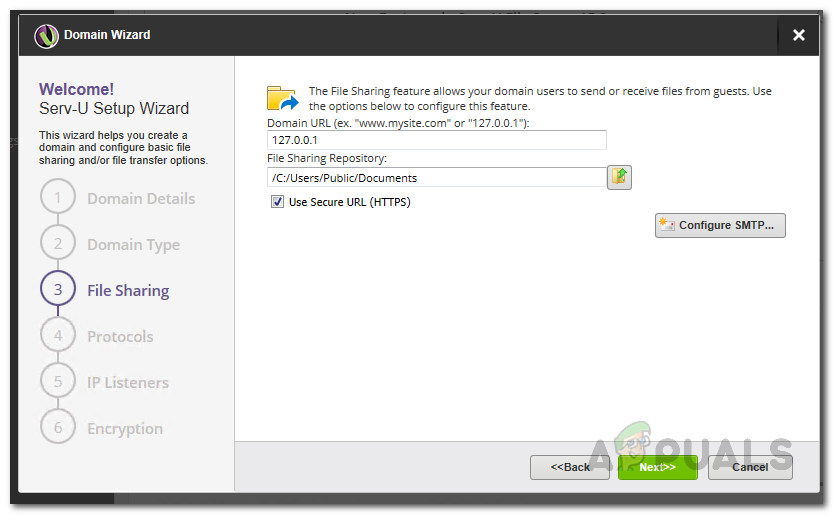
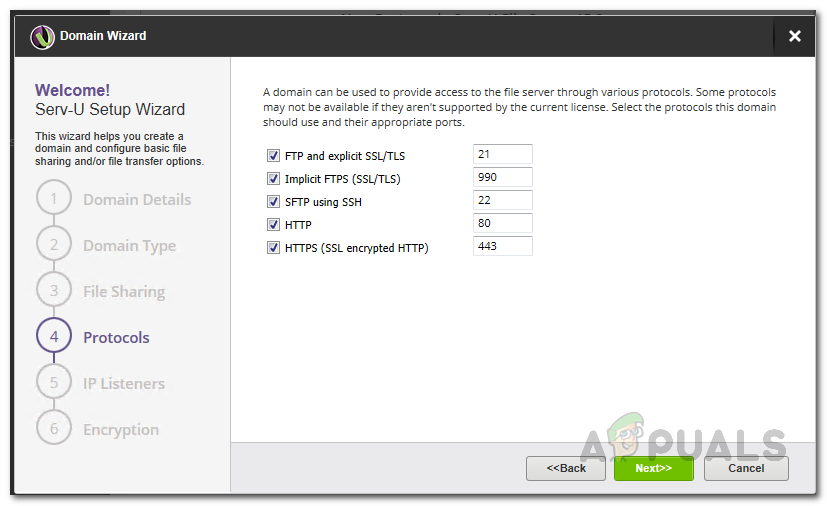
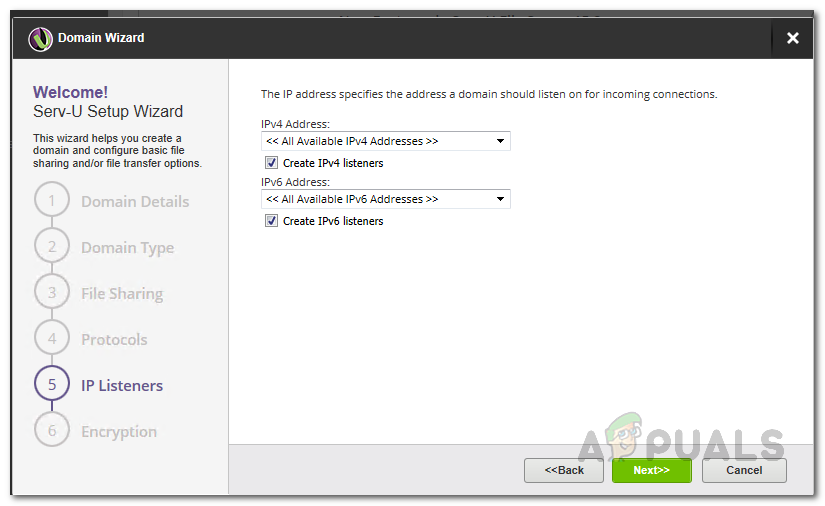
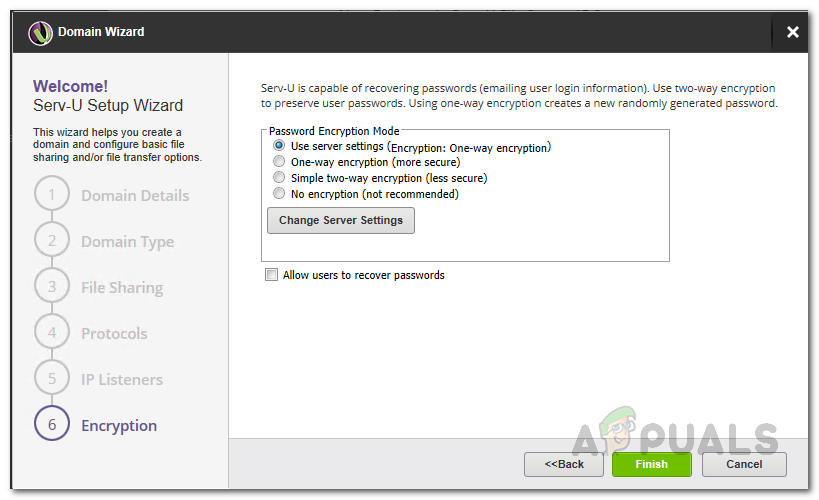
A domain is basically the core of the Serv-U server. For a layman, a Serv-U domain is essentially a number of listeners and user accounts that are basically allowed to connect to the SFTP server and access the files and folders. For further restriction and control, you can configure the domain created to restrict access based on IP address and even limit bandwidth usage so that the server performance remains optimal. With that said, creating a domain is really. Follow the instructions given down below:
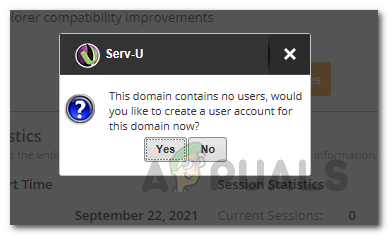
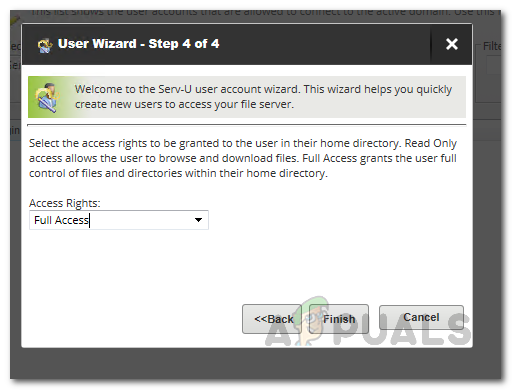
Create a User Account
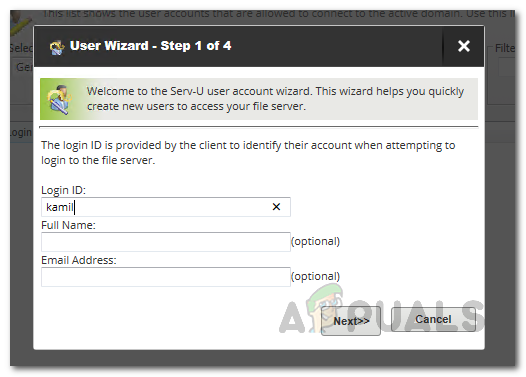
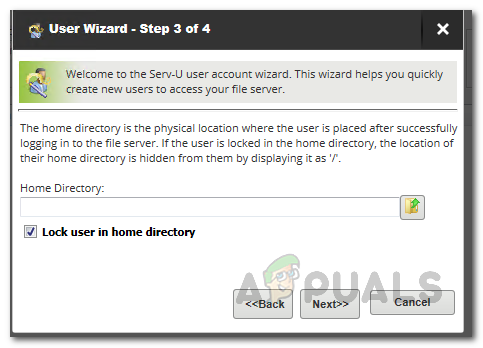
Now that we have created a domain, it is basically useless if there are no created user accounts. Therefore, let us get started and create a user account that will be used to connect to the SFTP server.
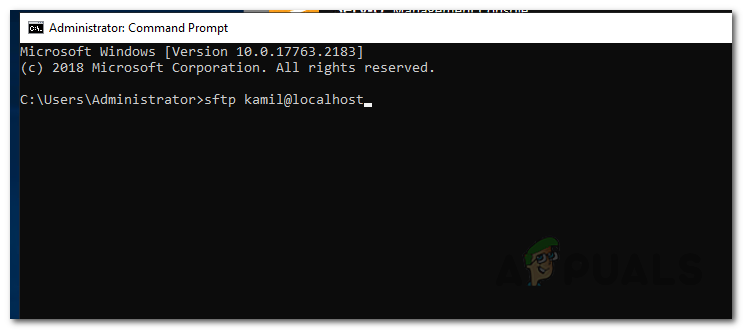
Connect to the SFTP Server from Windows Command Prompt
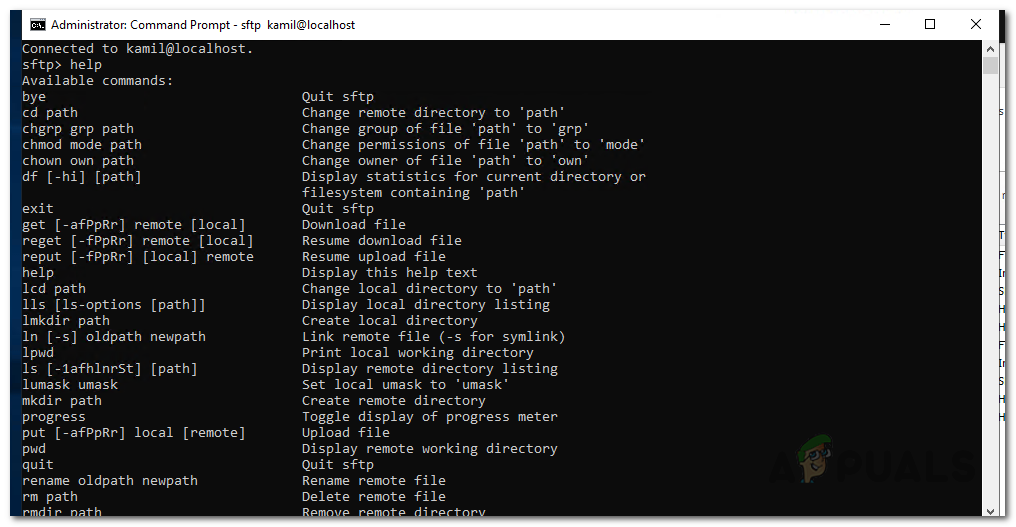
At this point, we have successfully created a custom domain as well as a user account that we can use to connect to the SFTP server. With the help of this, we will be able to send and receive files depending on the type of domain that you created. You can easily connect to the server via a Windows command prompt window. To connect to the Sftp Server from Windows Command prompt, follow the instructions given down below:
How to Configure and Securely Connect Remotely on a Windows Server using Radmin?How to Configure Windows Server to Query An external NTP ServerHow to Create and Configure a Discord Server (Windows and Android)How to Setup and Configure TFTP Server on Windows 10